

From time to time, I get asked quite a few questions about my painting process. One of these questions is why I varnish my work. This is a personal preference and many artists don’t even choose to use varnish. But I do. There are a couple of reasons for this, namely aesthetic and for protection. But varnishing your artwork does take some consideration. Firstly, there are so many varnishes on the market, how do you know which one to pick? Secondly, if you have just spent hours (or weeks or even months) perfecting your painting, how do you know that the varnish isn’t going to spoil your precious artwork?

Historically, professional painters and artists have used varnish for several centuries. Fresco painters, Renaissance Old Masters all used a type of varnish on their finished artwork. Traditionally, the reason to varnish a finished painting was to protect the artwork from dirt, smoke (and if you think that every house would have an open fire, that is a lot of dirt!) and other things that could damage the outer layer of the painting.
But what exactly is a varnish? A modern day varnish is often a specialist combination of resin and solvent that dries to a thin, protective and clear layer painted on top of an artwork. Modern professional varnishes come in a variety of finishes, namely matte, satin and gloss.
So why do I varnish my artwork?

1. It protects the artwork
I paint mostly abstract artwork in acrylic paint. Did you know acrylic has a pesky habit of attracting dust? As a result, the dust particles floating around the atmosphere can end up sticking to your beautiful painting. A protective and transparent layer of varnish on the top of your lovely artwork stops it from collecting as much dust. In addition, the dust doesn’t embody itself in the soft layer of acrylic paint. And so with a quick wipe with a clean damp cloth, the dust is gone and your painting is as good as new. With a protective layer of varnish on the top of your paint layers, it is easy to clean, there is less dust in the first place, and of course, when cleaning, you don’t have to worry about damaging the paint layers of your favourite original artwork. As the dust and dirt sticks to the varnish instead of the paint itself, the varnish can be removed (along with all the dirt) and the painting re-varnished, restored to its former glory. However, this means you have to use the right sort of archival varnish, not just any old varnish will do, but more on that below… So basically, this means that because I varnish my paintings, if I ever become super famous and my artwork is hung in the Louvre, then in a few hundreds of years from now, my paintings can be restored. Dream big I say!!
In addition, a layer of varnish can stop an artwork from turning yellow or fading over time. This is especially essential if your artwork is hung in a bright space, or in direct sunlight. My paintings are mostly brightly coloured, vibrant abstract canvas artworks and I put so much thought into the colours I choose that I would be so disappointed (as I’m sure my clients would be) if the colours yellowed or faded over time. Even worse, if just part of the painting is in direct sunlight, it would result in half of the canvas bizarrely fading. Varnish provides a layer of UV protection. It’s like sunscreen for your art! Lather it on! Of course it isn’t the ultimate solution. The best prevention is to hang your artwork out of strong, direct sunlight if possible, but if you can’t, then varnish is the next best thing.
2. It helps the art work come alive
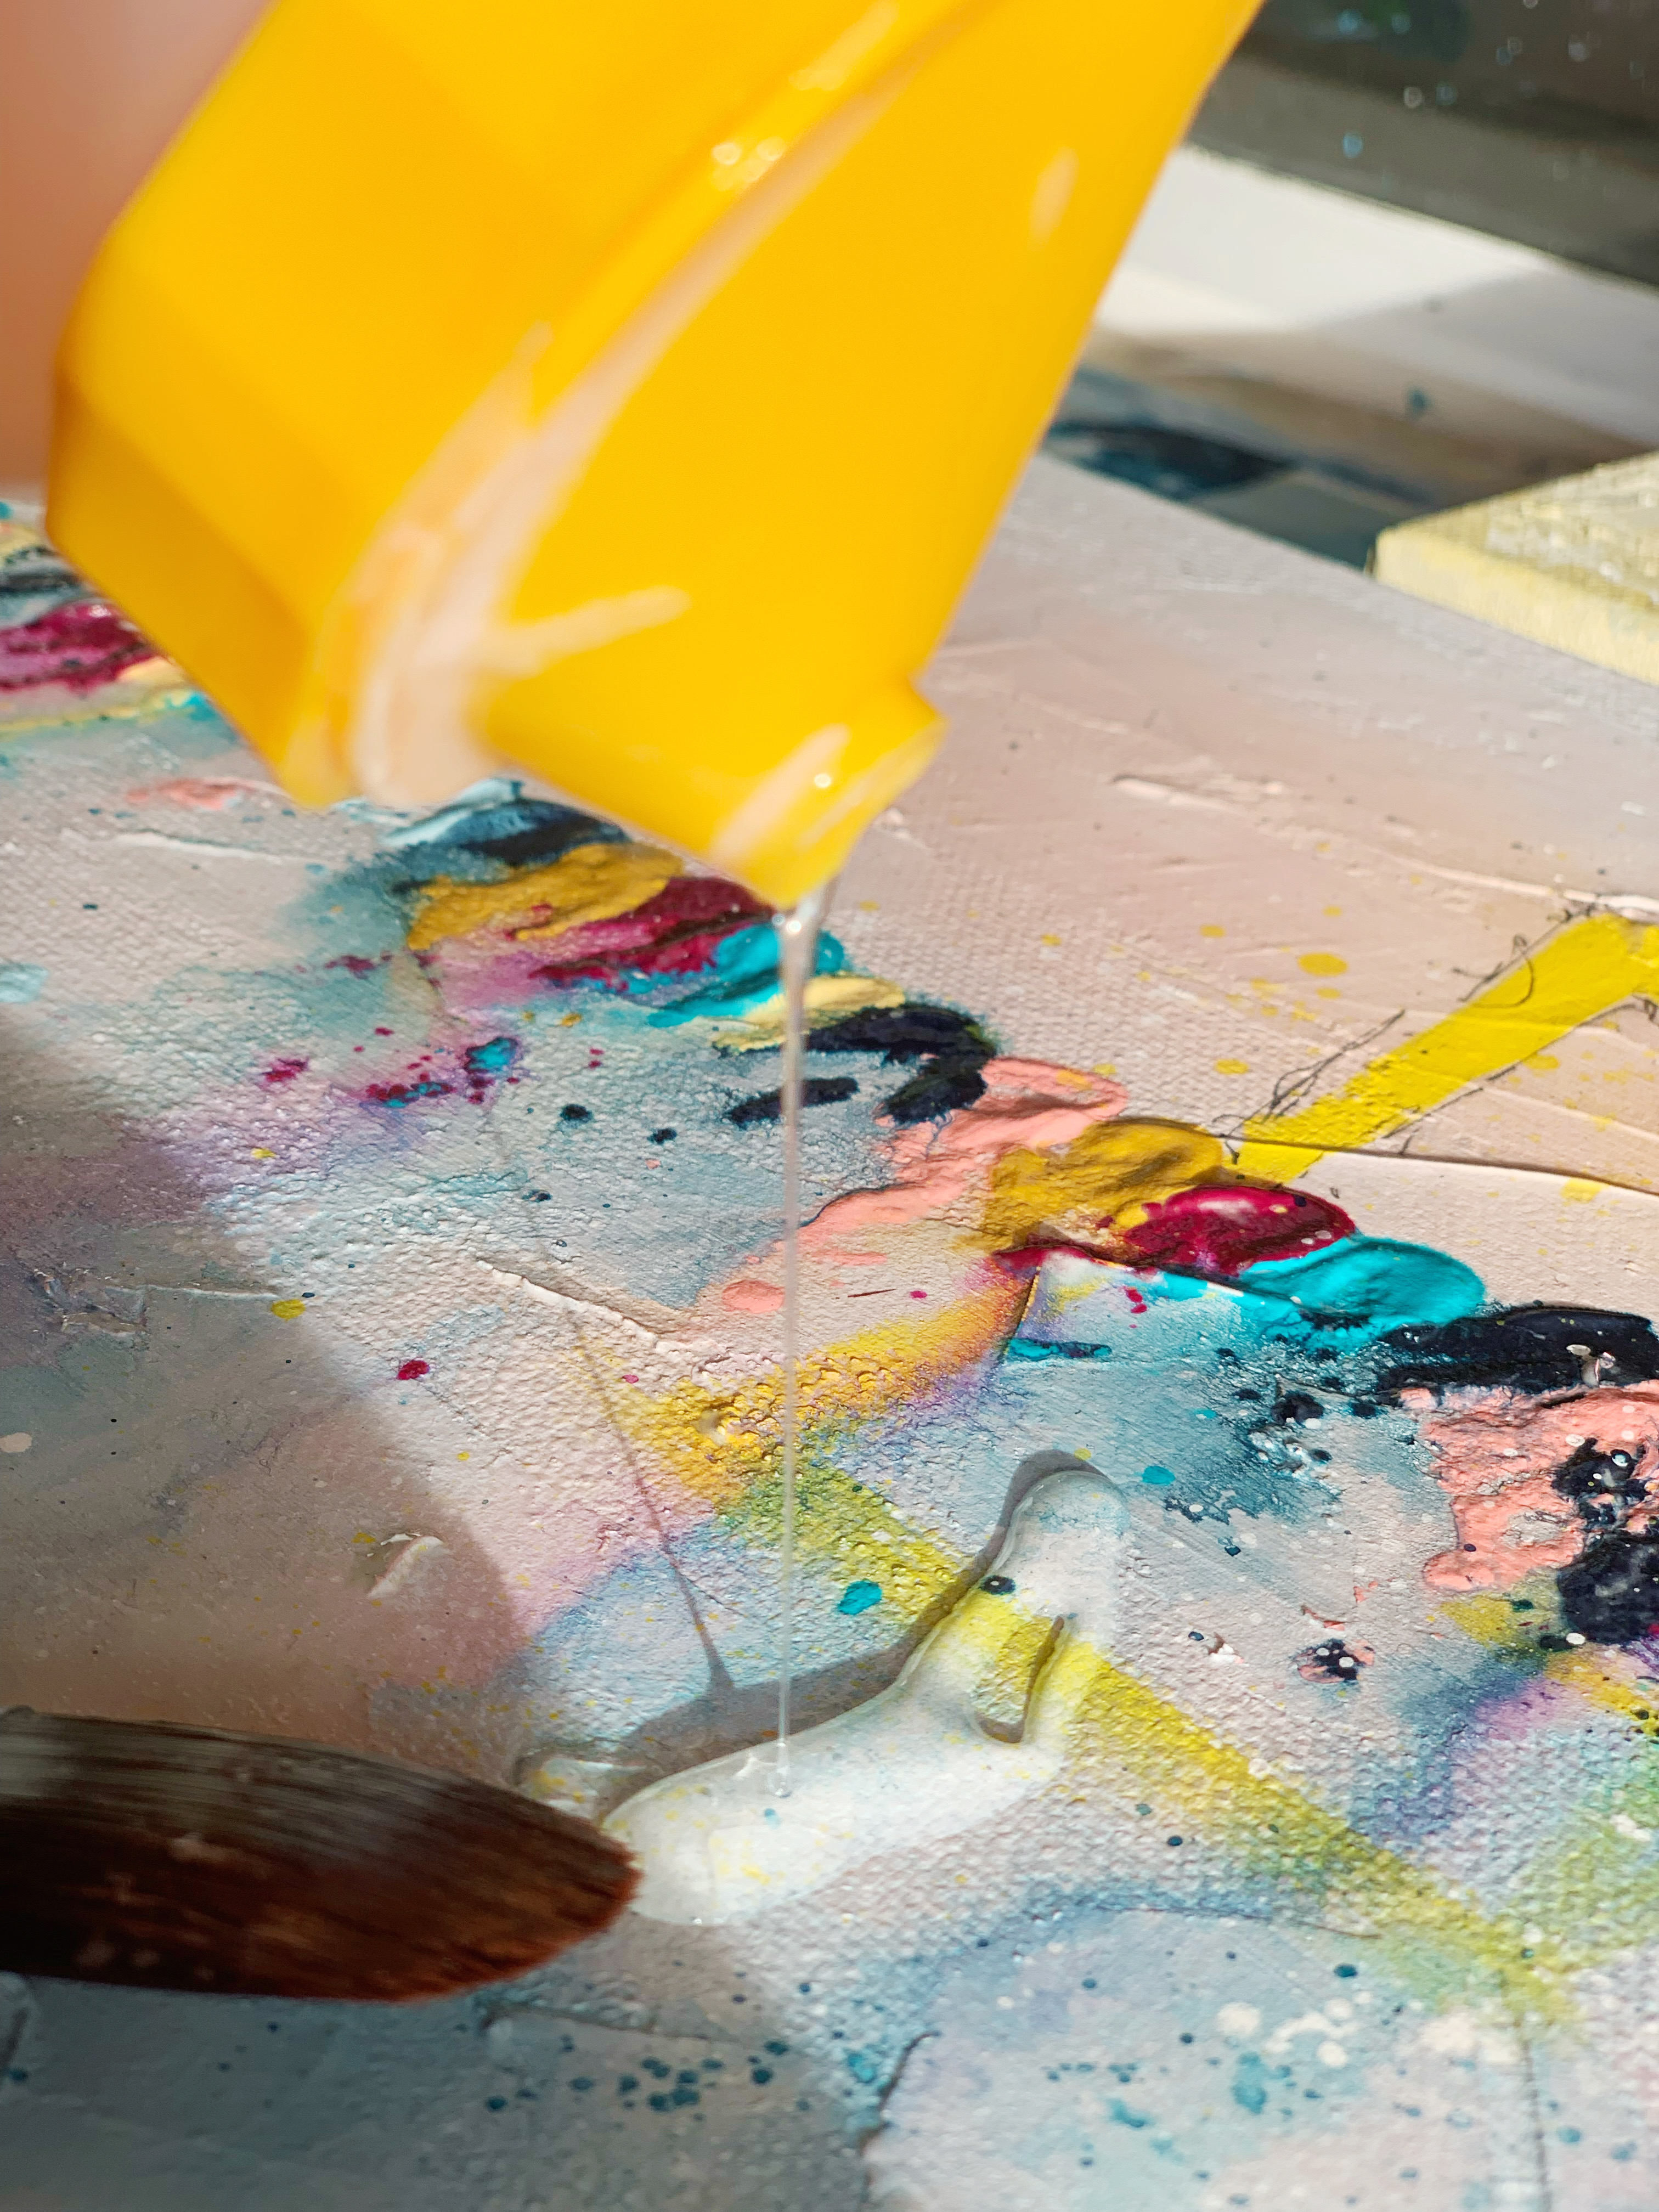
When people see my original abstract artwork in real life, they assume I paint in oils. I don’t. But one of the aesthetically pleasing benefits of an oil painting is that it retains a beautiful glossiness and lustre. Acrylic paint looks luscious and vibrant when it is wet, but it dries darker, dull and flat. I have a couple of tricks up my sleeve as to how I combat this, which I’ll save for another blog, but one way I help retain a bright and lustrous effect is with a final layer of varnish. I tend to use either satin or gloss varnish, although again the finish is a personal choice. I like the richness of a gloss varnish as it beautifully highlights the detail of a painting, it enhances the colour saturation and gives it a professional and even finish. Did I also mention that it tricks people into thinking it is an oil painting?!? As a lot of my abstract artwork is textured, the sheen from a glossy finish really captures the light and brings the painting to life. I fought against gloss varnish when I first started painting as I didn’t want it to look to shiny, however, experience has taught me that for my abstract, colourful and textured style of painting, gloss and satin is the way forward. I still use a matte varnish from time to time. However, I really let the painting dictate which type of varnish I should use. If I’m looking for a more subdued and less saturated end result, then matte is the way, however more often than not I want my varnish to highlight the intricacies and complexity of the texture and marks, rather than dulling it down.
How to apply varnish to a painting?
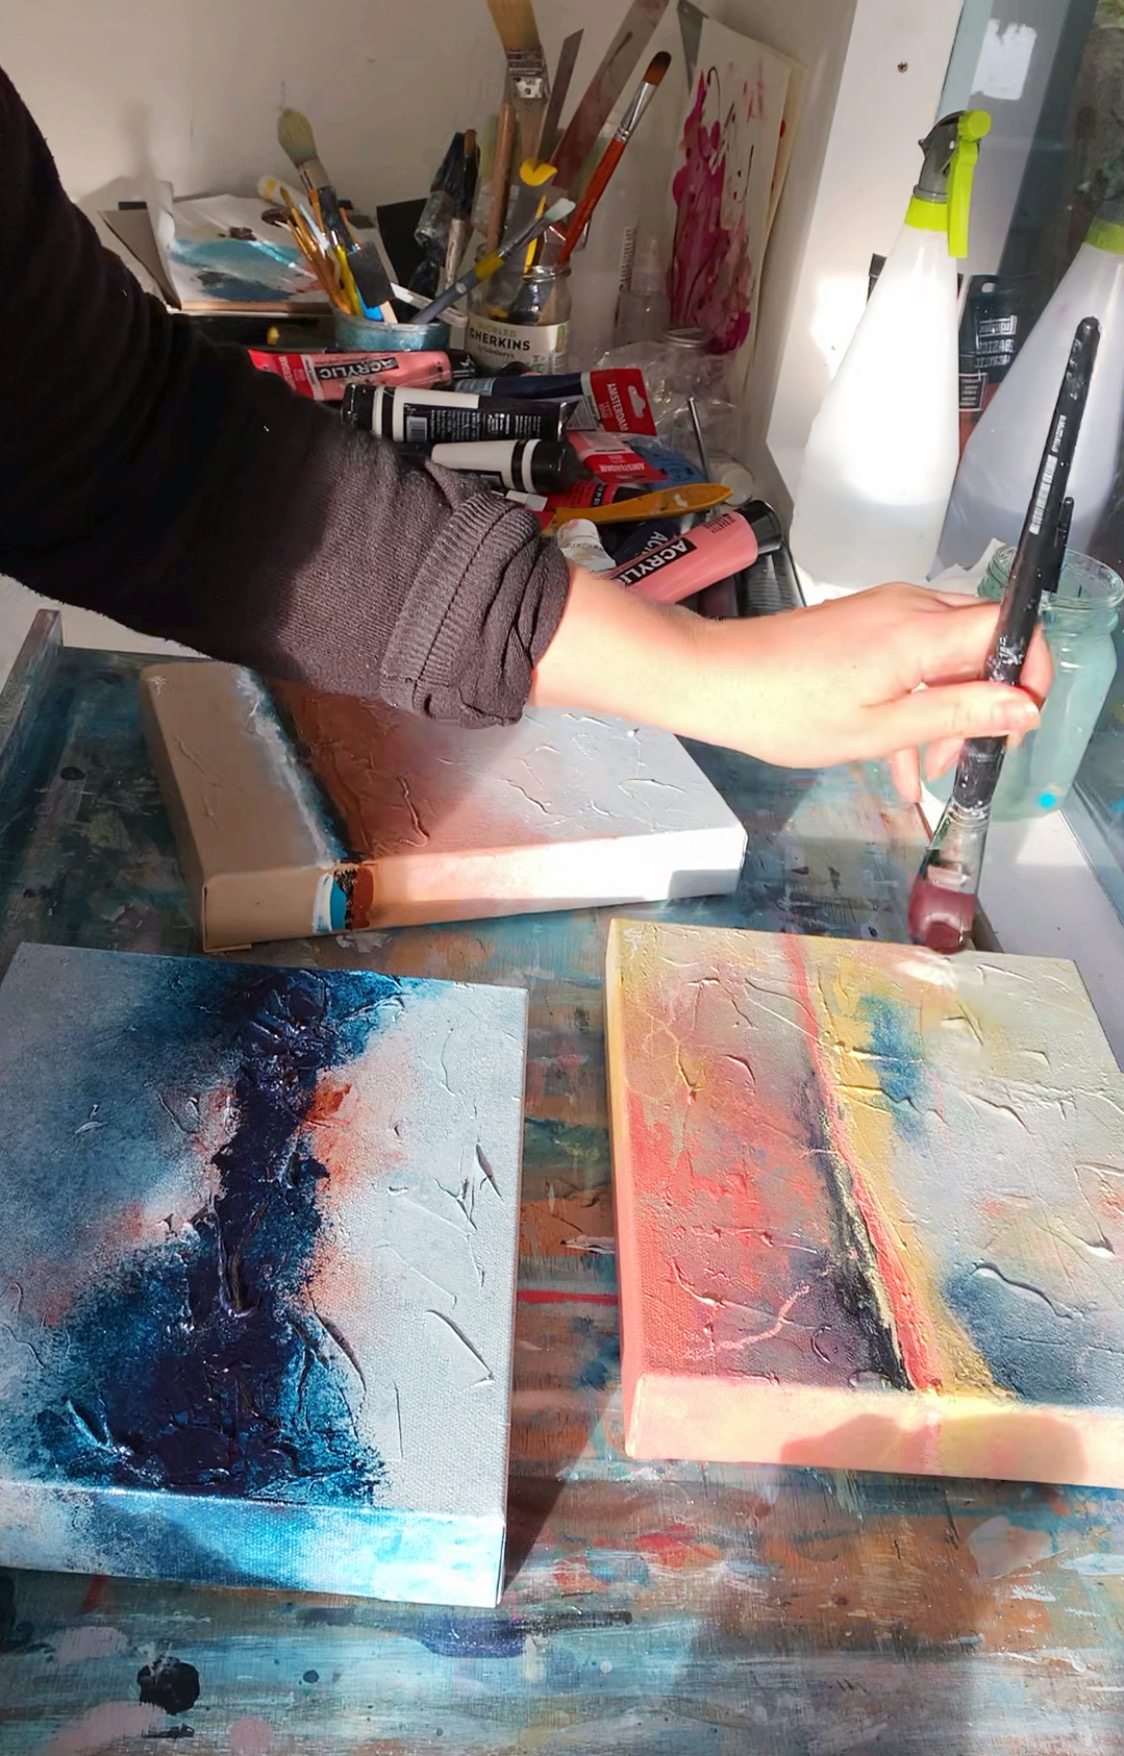
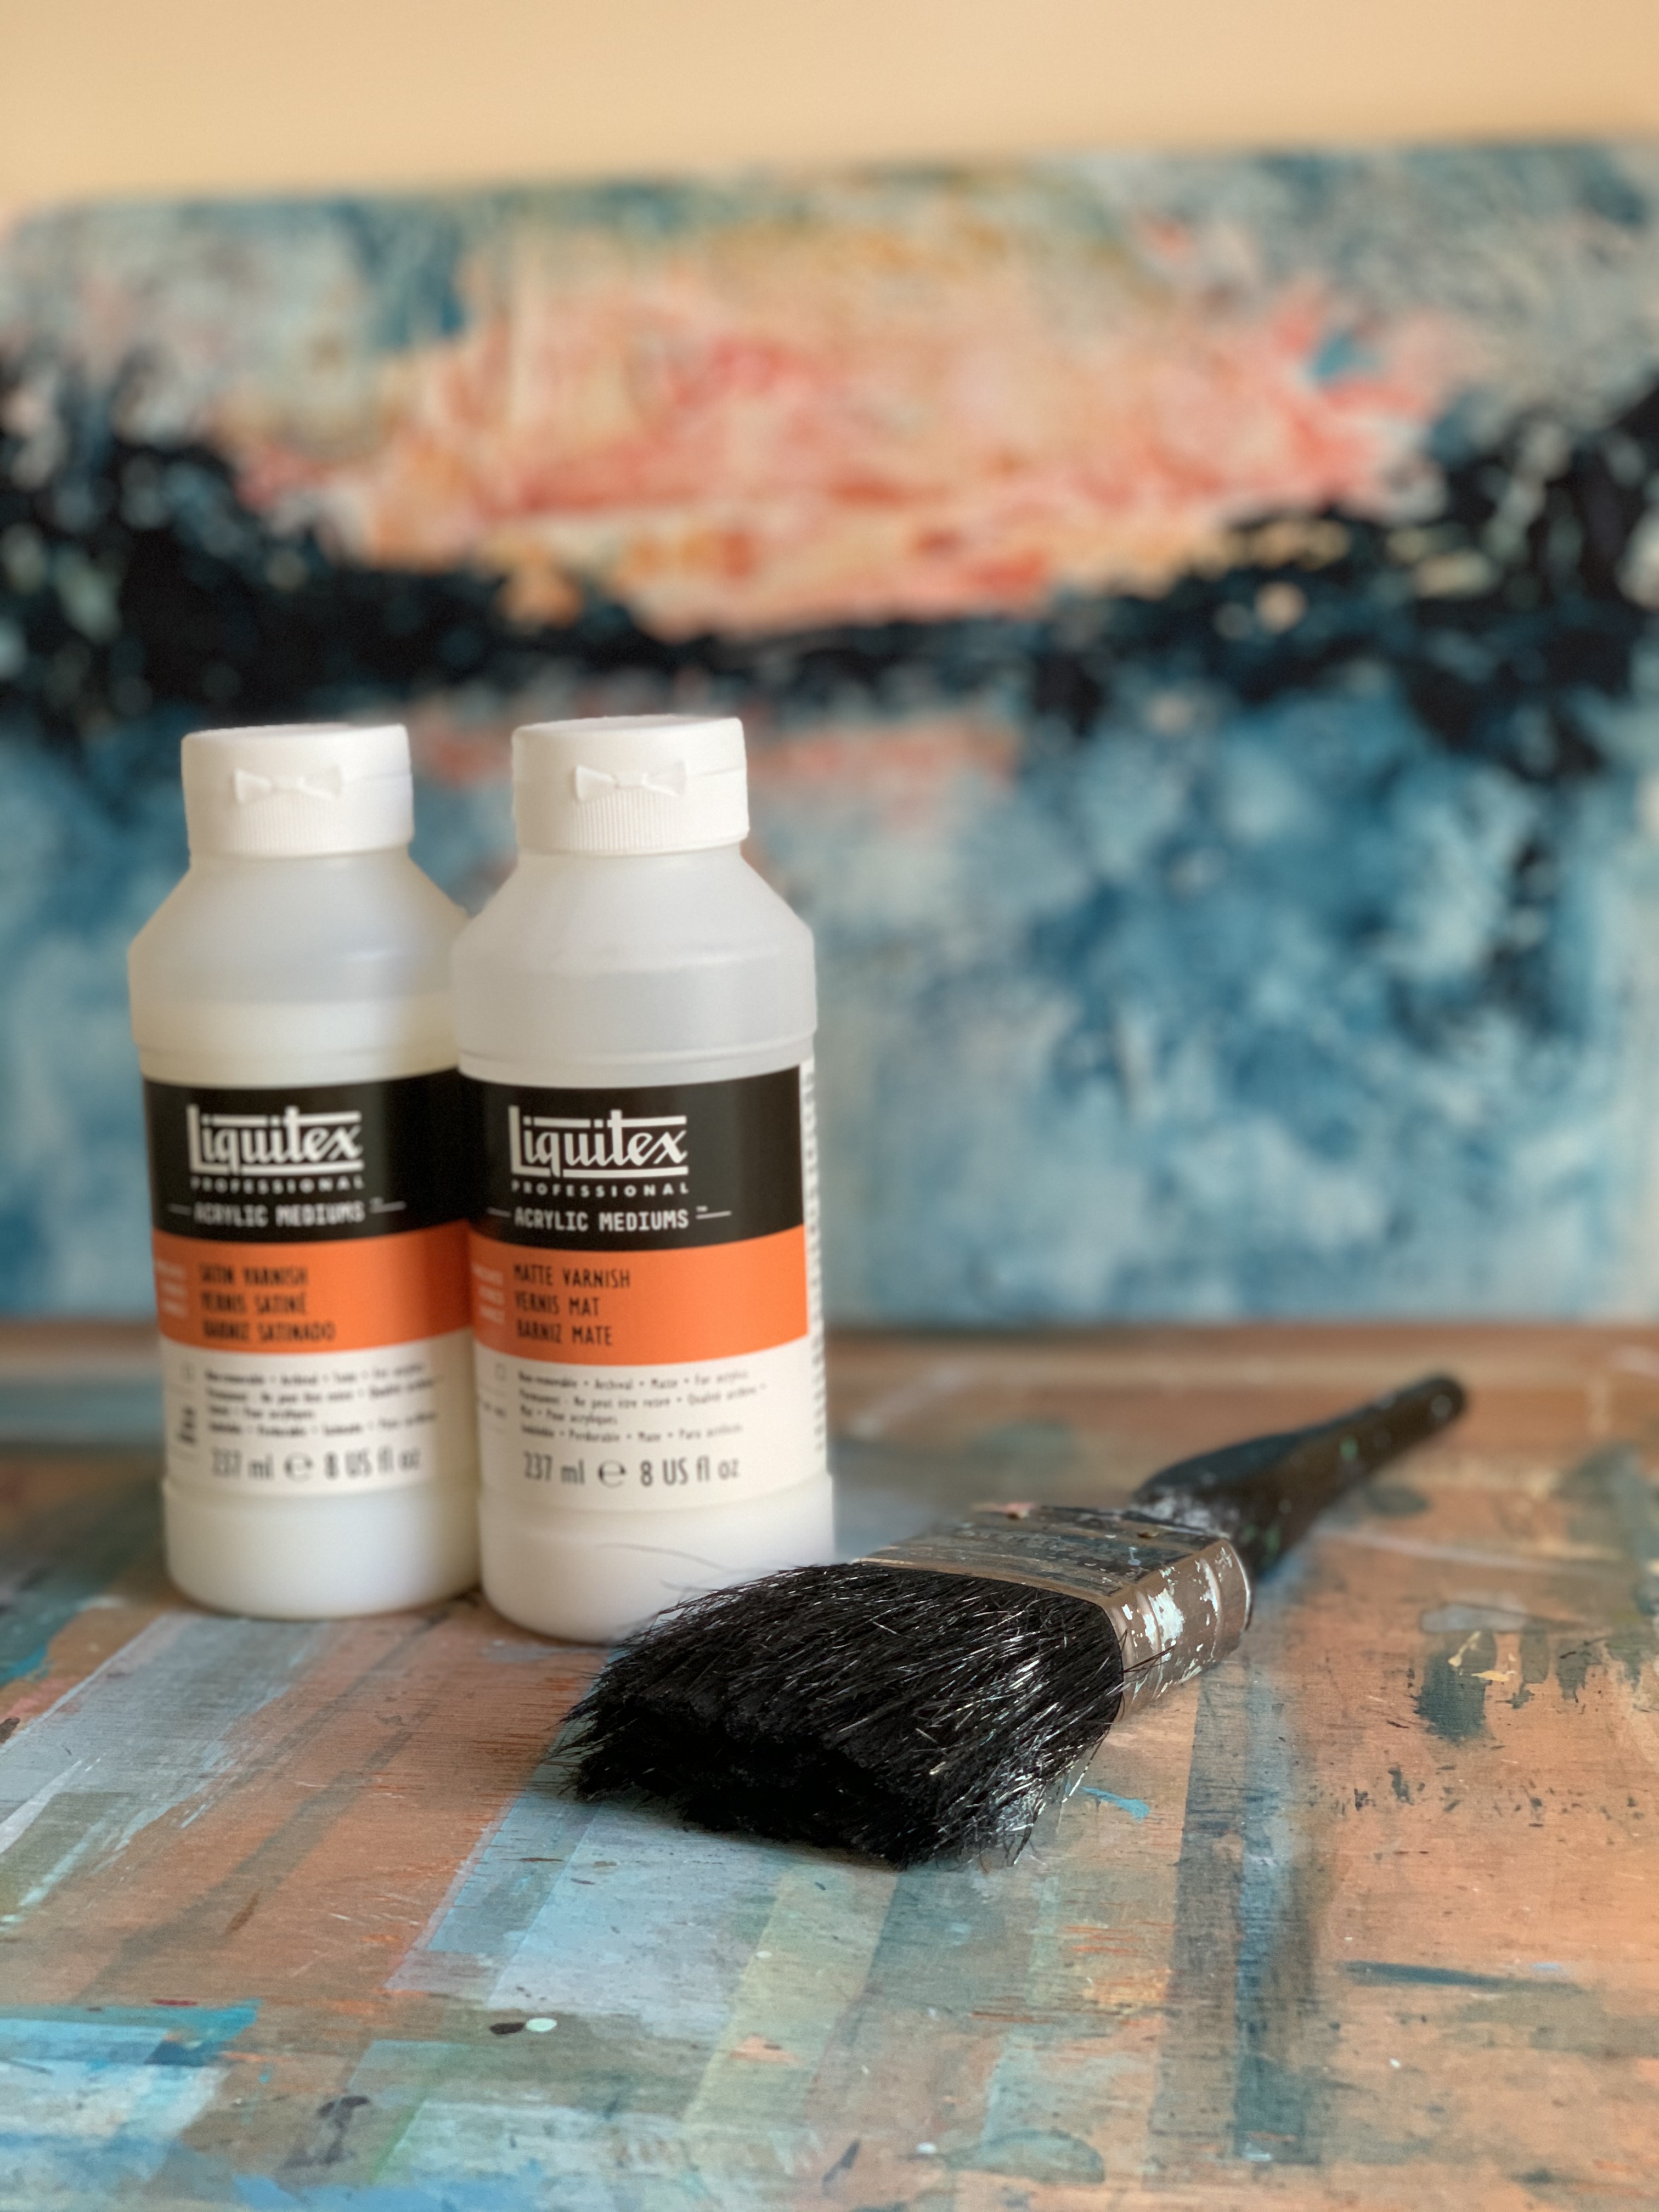
So, how do I do it? There is no complex procedure in applying varnish. The main thing is to apply thin layers and not rush. I mostly use Professional Acrylic Gloss, Matt or Satin Varnishes by Windsor and Newton. These varnishes are uniquely formulated to be removable and contain UV resistance and are reasonably priced. I’m also a fan of the Liquitex professional acrylic varnishes, although these are not removable, but they are specifically designed for acrylic artwork. As with all chemical and solvent products however, please use with caution, follow the safety instructions on the label, use in a ventilated area and keep away from children and pets!!

My tips for applying varnish to a finished painting:
- Wait until your painting is completely dry. How long will depend on the thickness of paint. A good rule of thumb with acrylic paintings is to wait at least 72 hours before varnish application, although I will often wait a full week.
- Choose a dust free area to work in. This is so important! Especially if your canvas has any light or pale areas, as any dust captured during application will be visible, unsightly and impossible to remove.
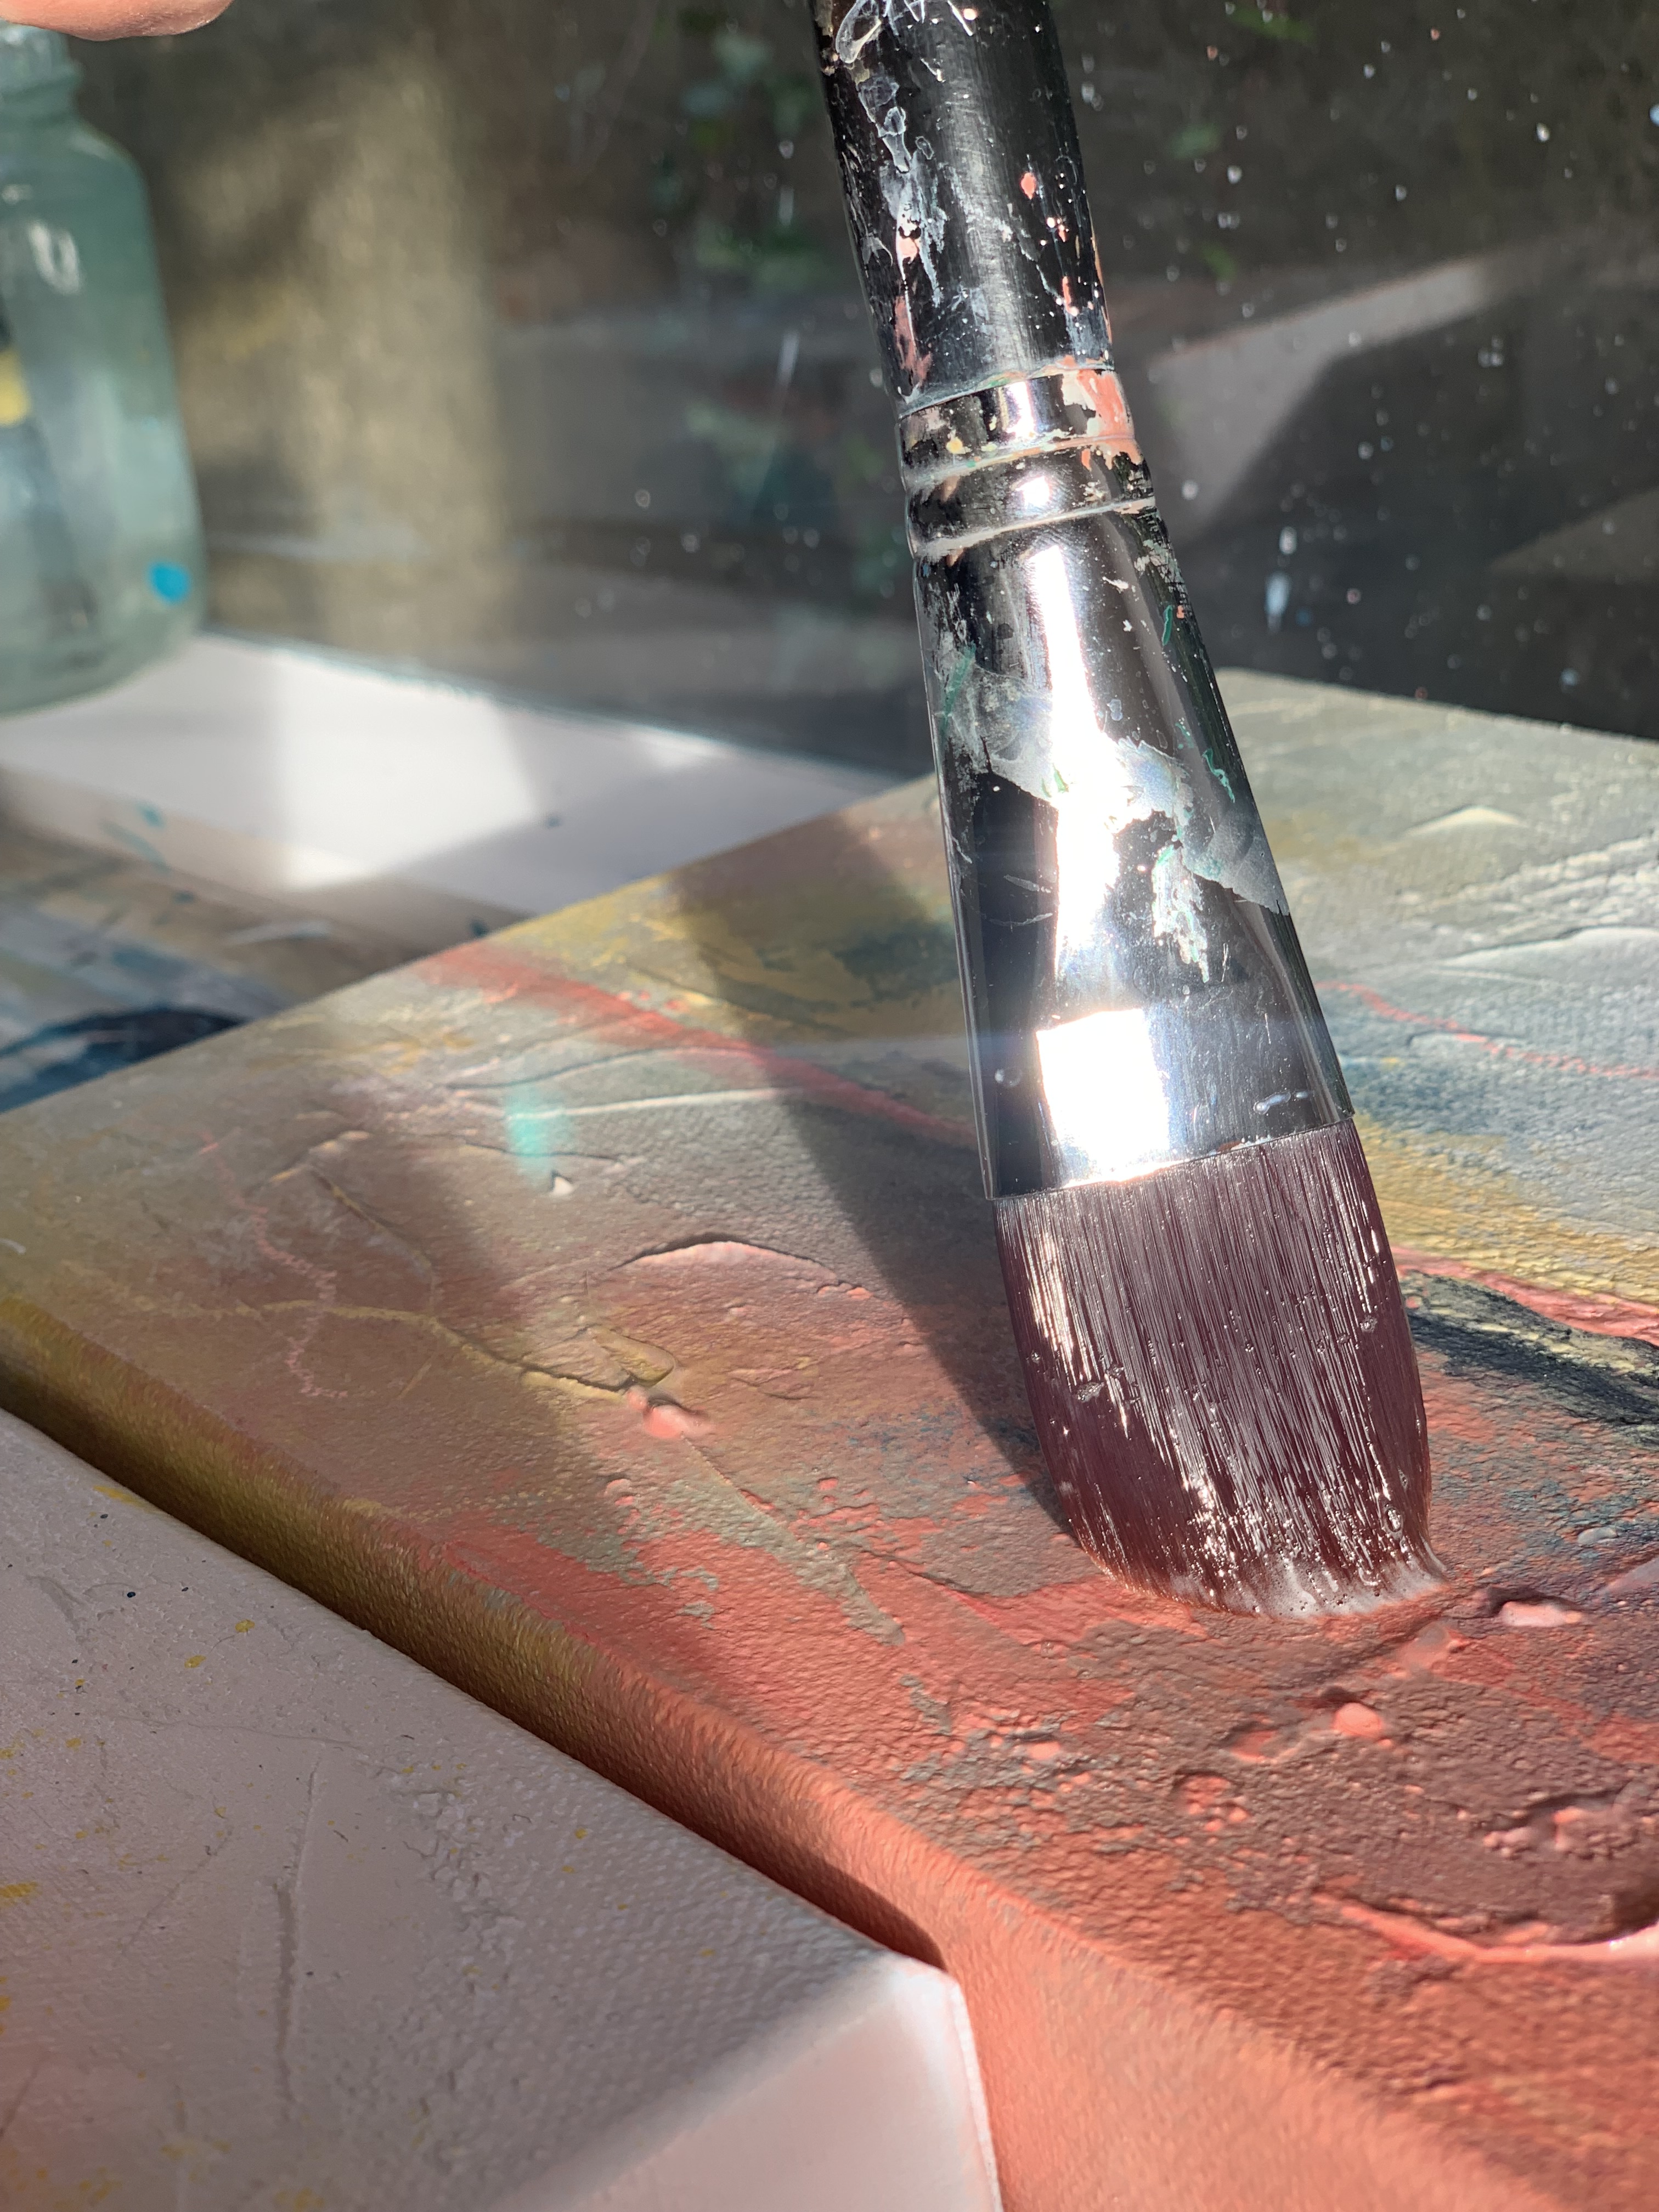
- Use a flat, wide, soft brush. Again, it is very important that the brush is clean and dust free.
- Work flat – avoid working vertically so the varnish is smooth and even and doesn’t drip.
- Stir the varnish well and apply the varnish in one to three thin coats, rather than one thick coat. Use long, even strokes and don’t rush.
- If you have missed any areas, don’t worry. Just let the canvas dry completely and re-varnish.
- Leave to dry for 24 hours between each coat.
Finally, don’t lean your varnished paintings together or resting on anything else, as they may stick. Also, bubble wrap is the enemy of freshly varnished artwork, unless you actually want hundreds of tiny circle imprints on the surface of the painting of course!!
How to care for your artwork
Try to avoid hanging original artwork in a bathroom or kitchen where evaporation and condensation may damage the painting or the frame. Additionally, avoid hanging a painting directly above radiators or open fires, as they will get dirty much quicker.
As I varnish all my abstract acrylic canvases, they are very easy to care for and clean. Simply wipe the artwork very gently using a clean, damp and non-abrasive cloth. There is no need to use cleaning product, water and a decent microfibre cloth will do. Note: never spray cleaning product directly onto an artwork.

Art should be enjoyed!
I’ve spent a long time experimenting with the perfect finish so my artwork can be enjoyed by myself and my collectors. It is so important to me to ensure that my work not only looks as good as possible, but also remains in pristine condition. I work so hard on each piece, the planning, the choice of colour palette, the composition and subject matter, I want to make sure that a painting will last for years to come. Because artwork is an investment, I want it to look as good hanging on your wall 30 years from now, as it does today!
Please see my website for my latest collection of bright and colourful abstract artwork. I’m constantly updating my portfolio of original paintings so please check back regularly or get in touch if you have any questions!
Or why not sign up to my studio newsletter so you can keep up with my new work and latest blogs?
Until next time,

Leave a Reply