
If you know me, you will know I’m messy. As in very messy. As in terribly messy. I have paint on most of my ‘nice, non-painting’ clothes, which have now become ‘painting’ clothes. And paint in my hair at the end of the day? How does that even happen??


In our house, we have a tiny little spare room/cupboard which we use for a wardrobe and a shared office space. Since Covid 19 hit, I have been painting in this little room, but I spend more time fretting about getting paint on the carpet and walls (and cleaning it up – thank goodness for cream cleaner…) than I do painting. In addition, as I have been painting larger and more abstract this year, you can imagine that the mess is getting messier.. And as we live in a rental with cream walls and a beige carpet, something had to be done. The fear is real folks. I had to find somewhere else to paint.
As I don’t have a car and there are no studio spaces nearby, it wasn’t really an option to rent a space. However, in our tiny little back yard, there is a decrepit old shed that is quite literally falling to bits and housing several years worth of former tenants’ belongings. It was one of those house jobs that we were going to get around to sorting at some point. Well the time had come. The shed was tiny, but the same size as our spare room, with the added benefits of not needing to worry about carpets and curtains. I could throw paint around until my heart was content.


One sunny day we set to work. Job number one was to clear out the remnants of the previous owner’s garbage (broken oven, pushchairs, Christmas decorations, rusty bike frames, old camping equipment, rubbish… the list goes on…) Five carload trips to the local tip and one mouse nest disposed of, the shed was finally bare and we could finally see what we were working with. Honestly, I wasn’t yet filled with optimism.

After a good clean out (the former tenant had used it to store coal) and disturbing several very unhappy spiders, we took a trip to our local hardware store, where we just about choked at the cost of building materials. Being a rental, the shed did not belong to us and the fact that we could practically buy a new shed for nearly the same cost as to renovate, we were loathed to spend too much money. We compromised by deciding to insulate just the roof and we asked friends and neighbours if they had any old scrap wood lying around that we could use to board out the shed. Fortunately we were able to find enough scrap wood and pallets that would suffice. In addition, my husband is a joiner, so as you can imagine, he came in very handy in this mini-renovation.


After insulating the roof the next step was to sort out the decrepit shed window. We threw out the old, mouldy blind and removed the broken glass and rotting window frame. My husband built a new window frame and we replaced the glass pane with a sheet of PVC from the local hardware store.
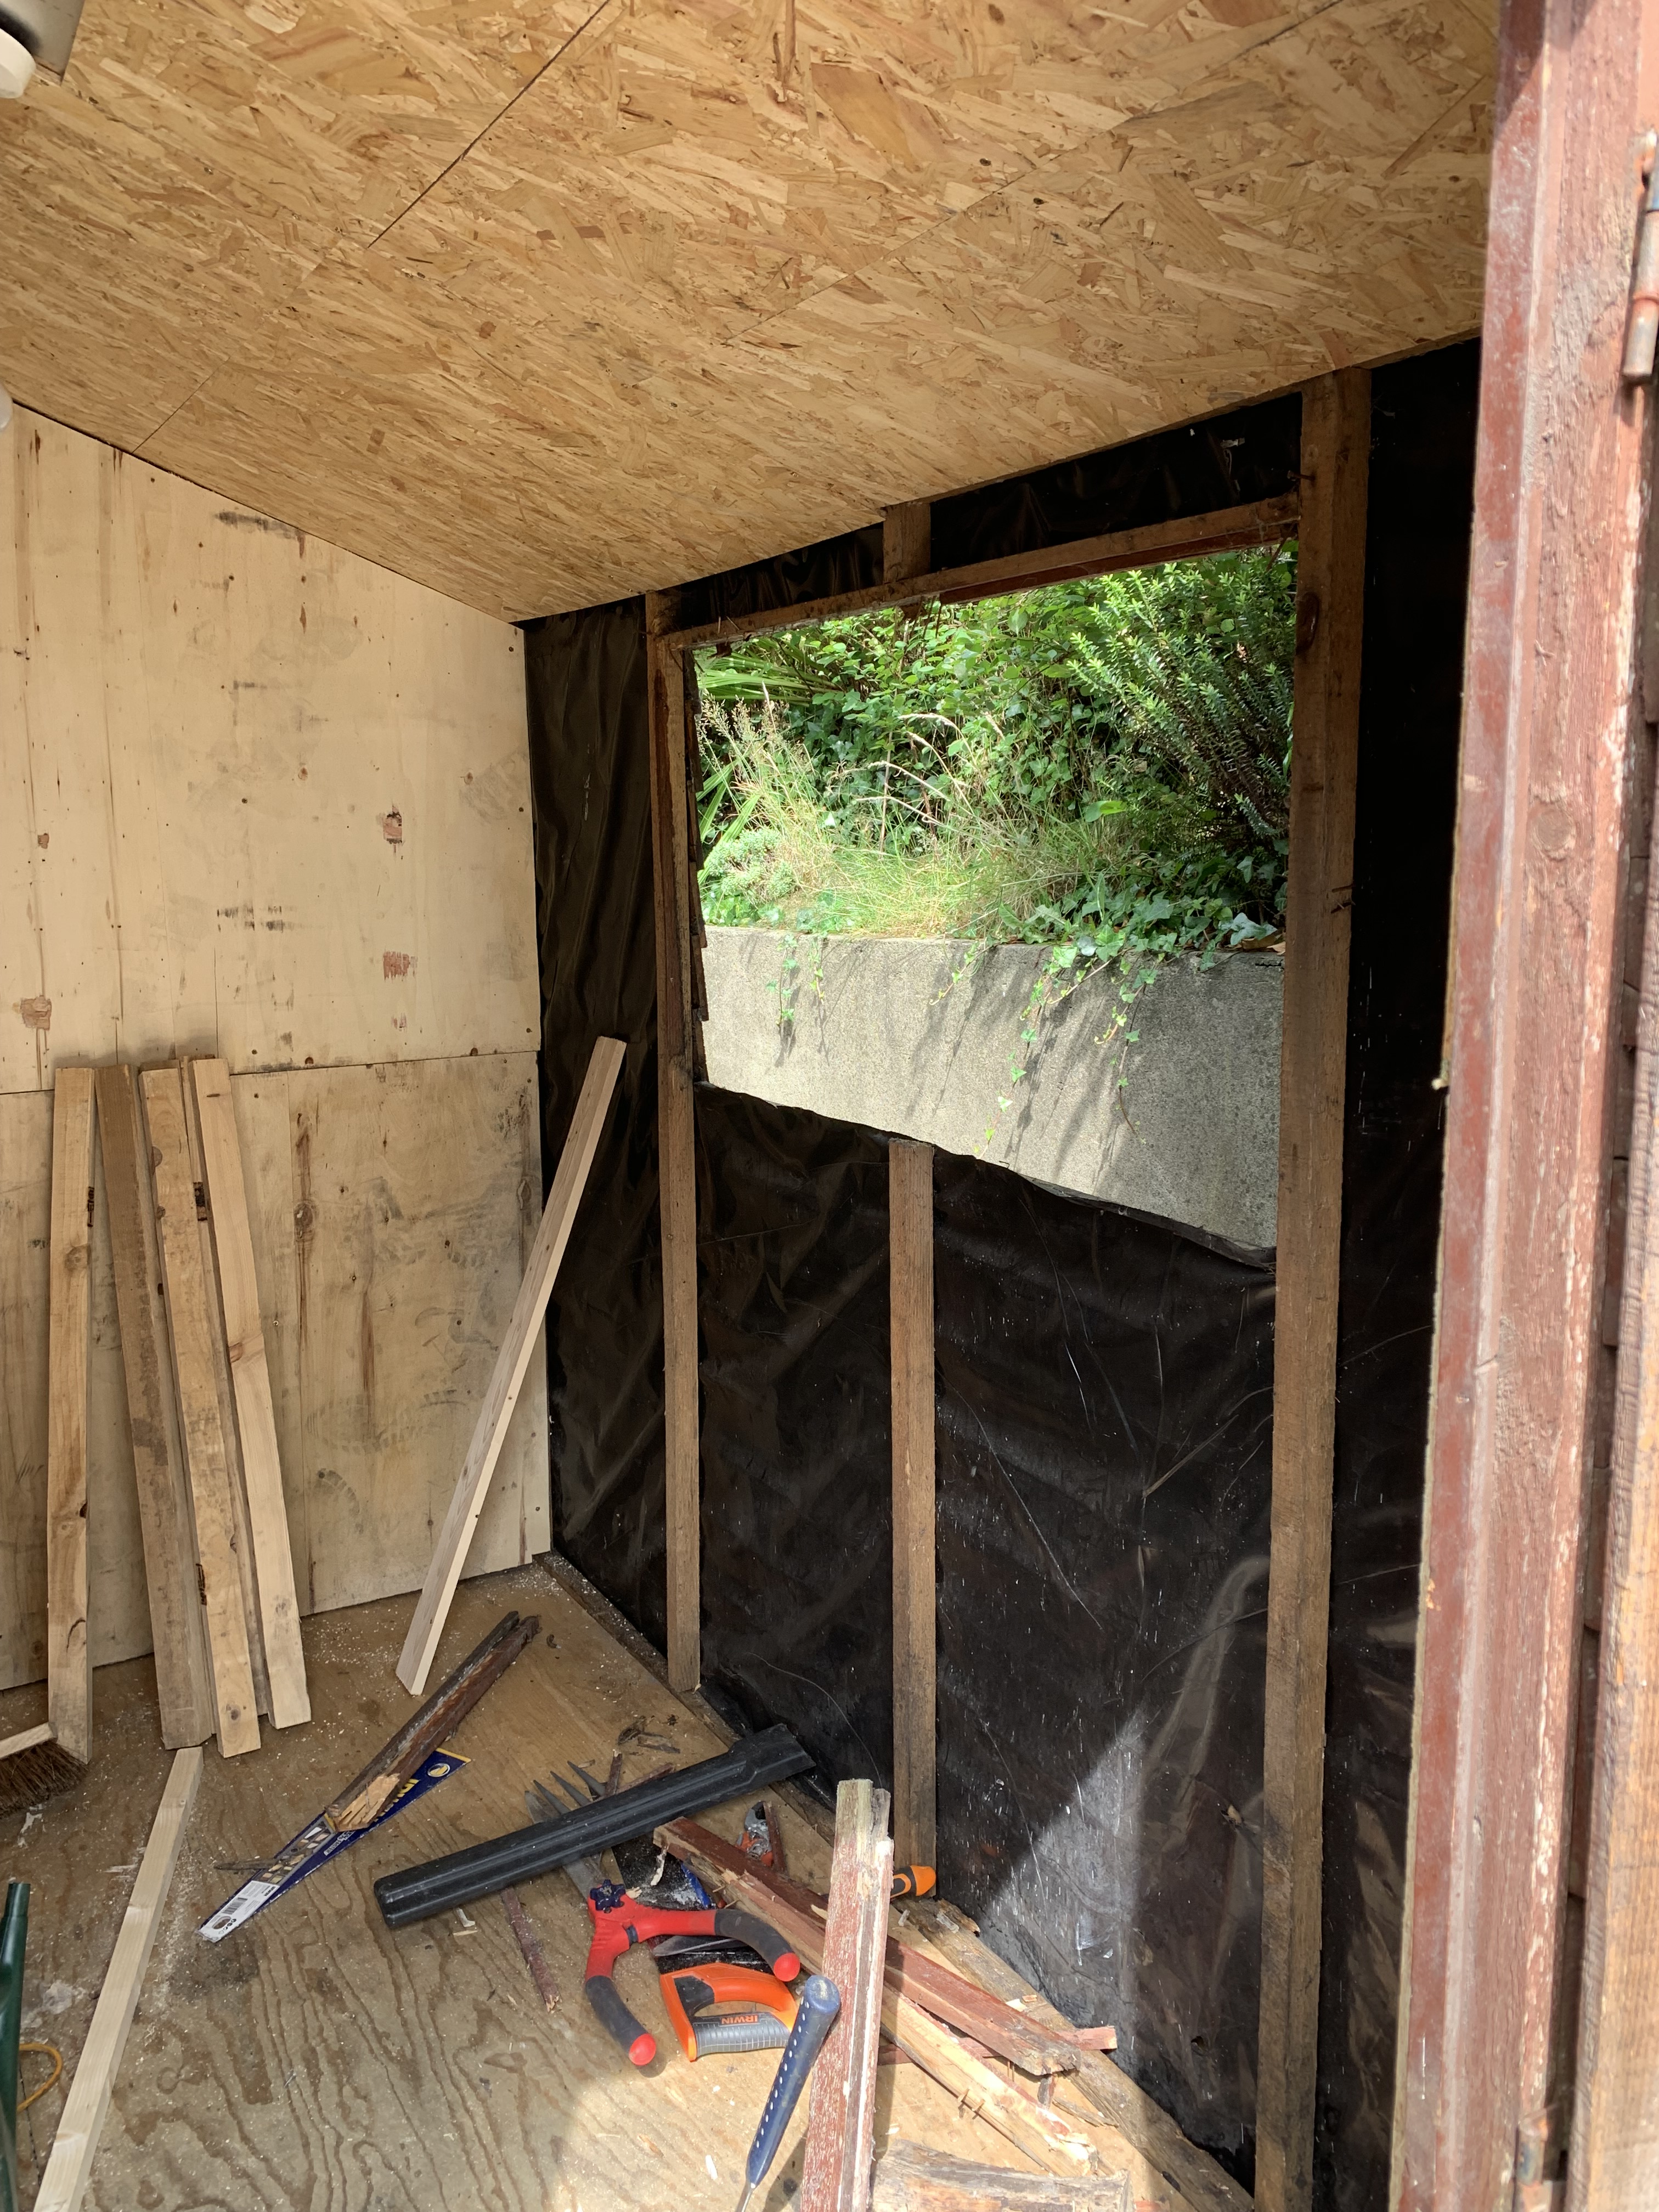

We used the rest of the scrap wood to board up the rest of the shed, making it look semi-decent and ignoring the fact that that most of the wood was mismatched, There are a few gaps here and there where we ran out of wood. Let’s just say it has a very rustic look! 😉


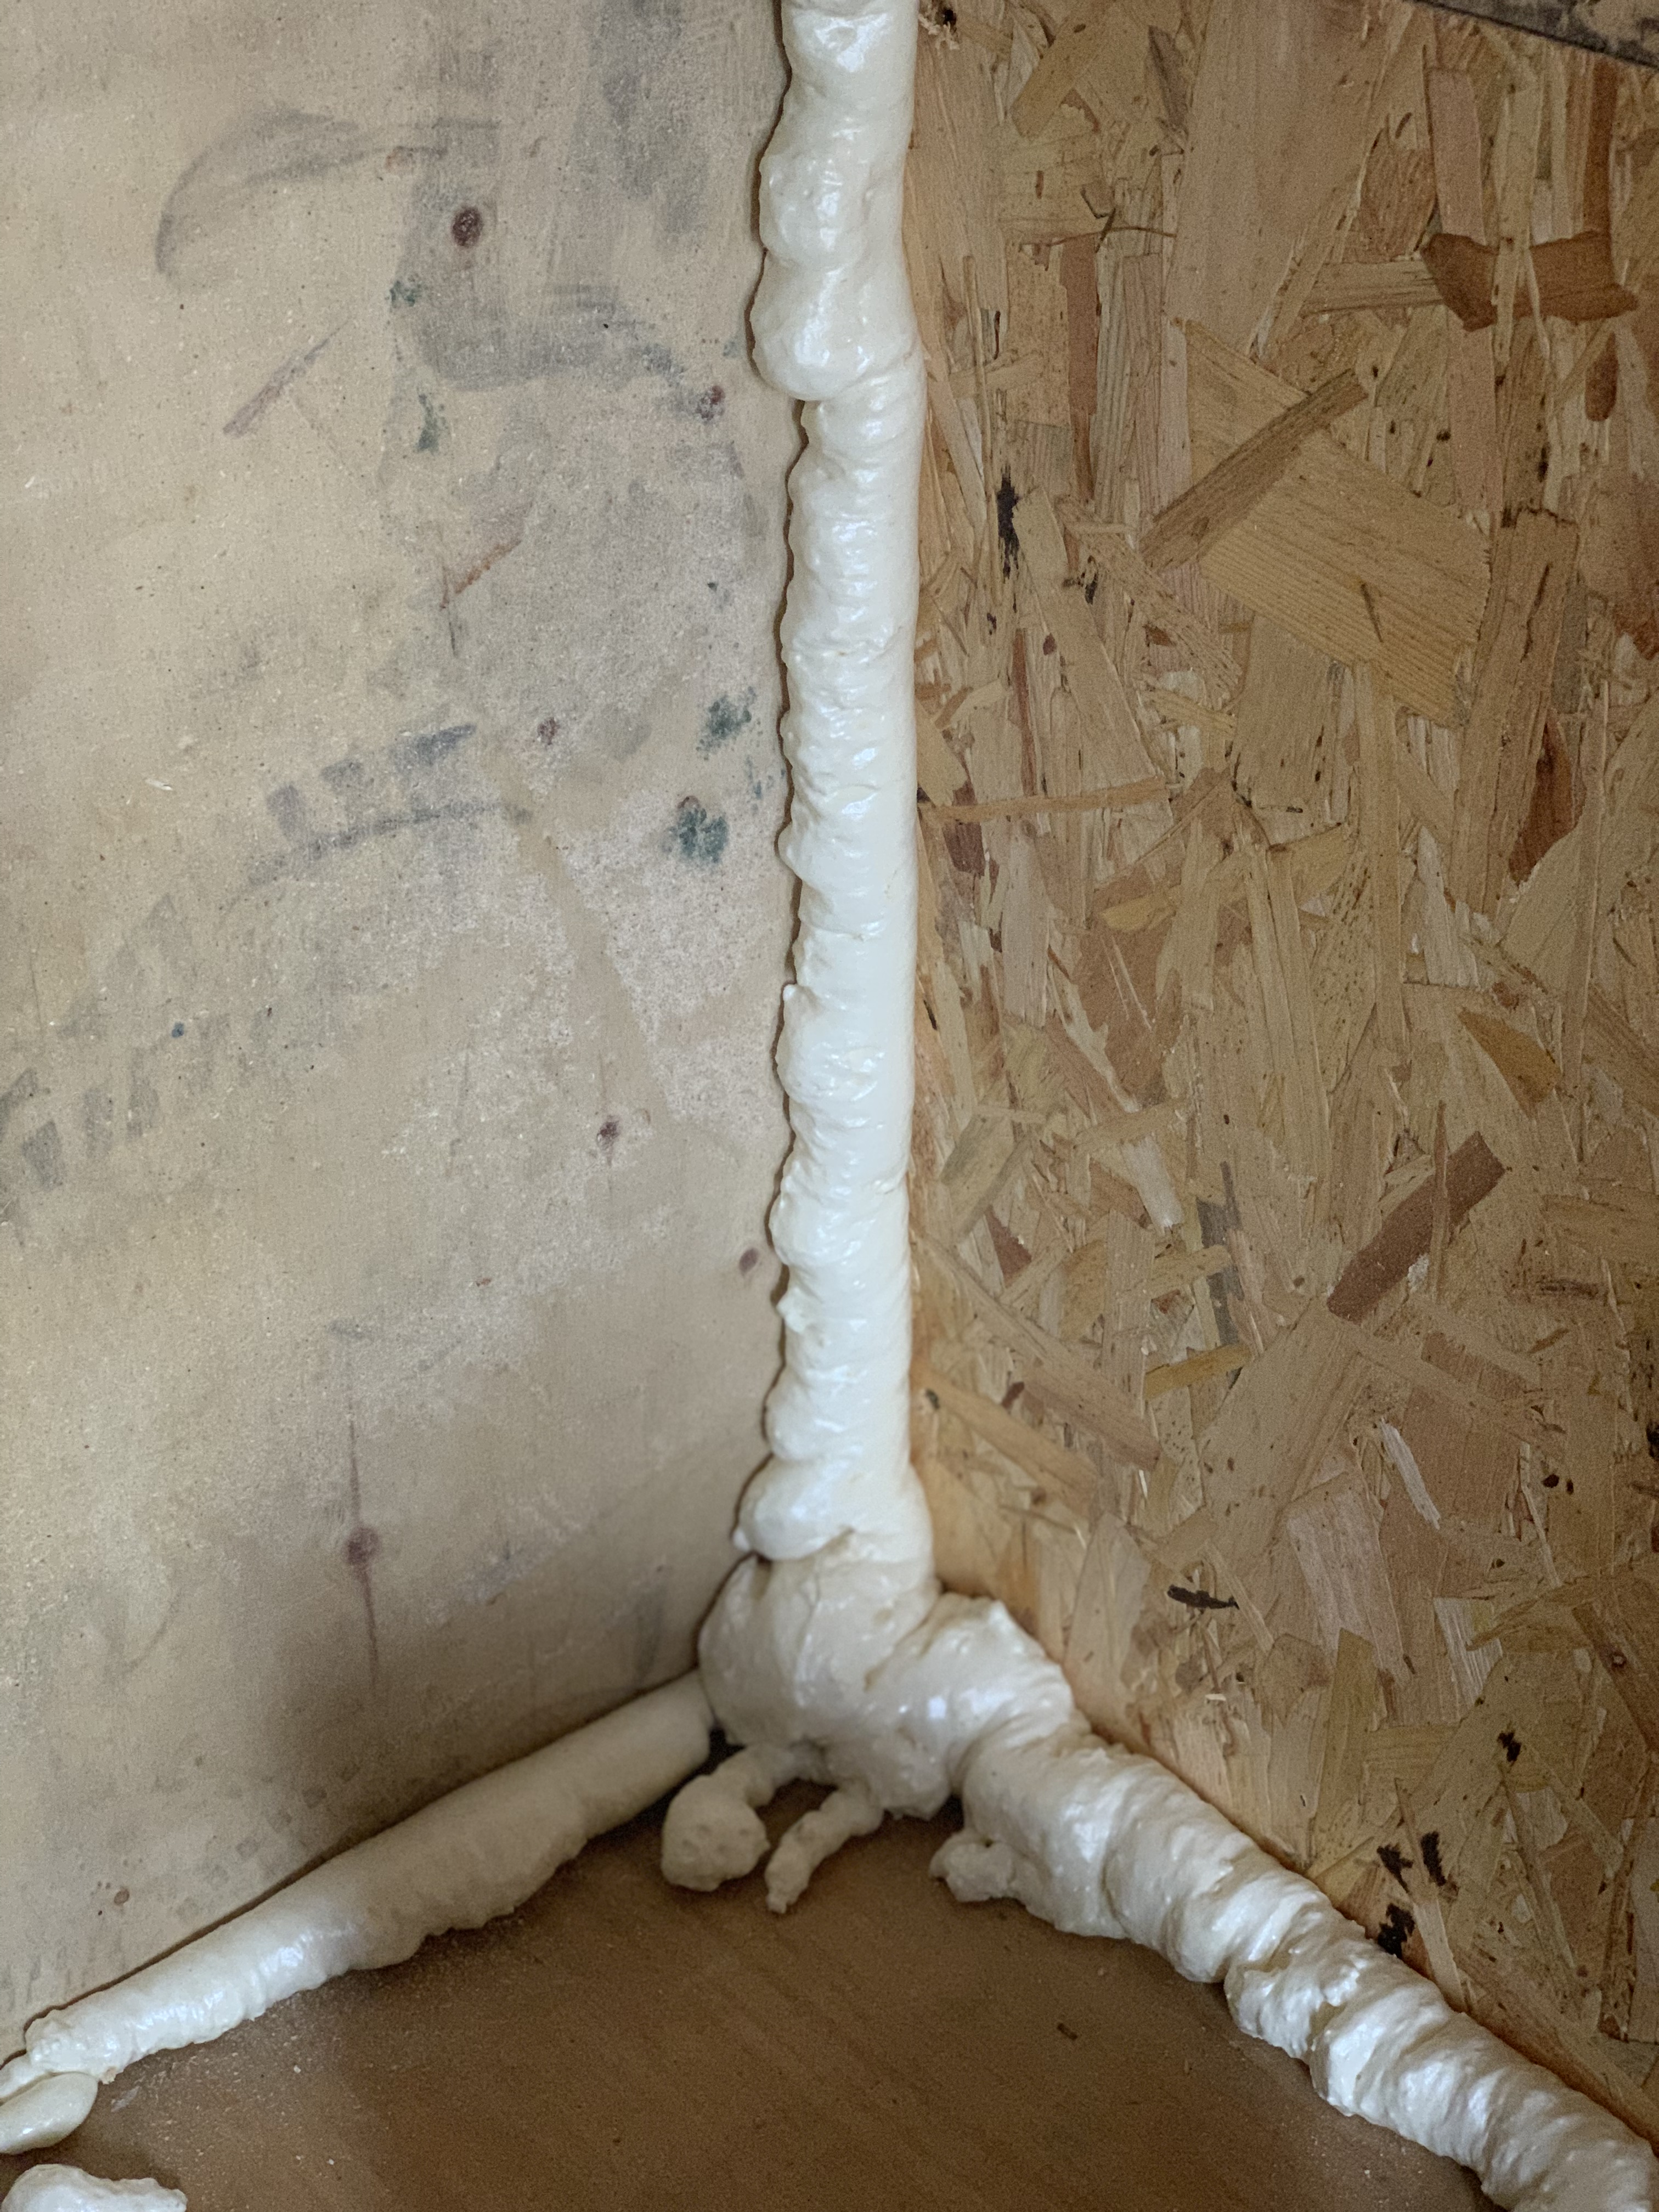
One non-negotiable in the shed was spider-proofing as best we could, which we did by filling most of the gaps with expanding foam filler. I know it isn’t going to completely stop the little critters getting in, but hopefully it will discourage most of them from setting up home.

Another absolute must was a big table which I could work at. It NEEDED to be level with plenty of room underneath. I wanted a big table for obvious reasons, giving me space to work and store my tools, but it was essential that it was level. I need a flat surface when working with very wet paint or varnish. This ensures that the painting dries evenly with no pooling of paint at either side. Currently, I’m propping the canvas up in my spare room with books and magazines to make sure it dries flat. The floors and walls of old stone Irish houses are not perfectly level, which has given for some interesting finishes over the months. However, at this stage in the renovation, we discovered that the shed was leaning and the floor was incredibly uneven. As a result, there is a 12 cm difference either side of the window frame, which looks TERRIBLE, but I don’t care.. It is more important that I have a flat surface to work on than how it looks next to the window frame… Hey – you have to work with what you’ve got right!! My joiner husband would just like me to point out that this very obvious mismatch is on PURPOSE rather than due to a lack of skill! Haha!


Finally, the shed was boarded out, clean and ready to paint.


I wanted to paint the inside of the shed white. There isn’t much sun in this part of the yard, especially in the afternoon and evening, so I wanted to reflect what little light I did have back into the shed and also have a nice light background that I can photograph paintings on. After a couple of coats and a full day of painting (it was deceptively big), the inside was done! We decided to leave the floor as it was, clean but unpainted, as lets face it, it will be covered in paint spillages within a week or two. I may in time decide to do something about this, but for now, it is fine as it is.

I decided to paint the outside of the shed a lovely green/blue colour. Although it wasn’t necessary to paint the outside of the shed for function, I wanted it to look joyful and happy – a place I looked forward to going on a daily basis. After brushing off several spider webs and dust and ignoring the broken wooden planks, I set to work. As long as I don’t look too closely, I’m pretty happy with the result.


Now my ‘she shed’/ new art studio is complete! I moved in this week and I can now splish, splash and splosh paint around until my heart is content!
I hope you enjoyed following along on my renovation journey. Let me know if you like it in a comment below and feel free to share with friends!
Until next time,

Loved this post? Why not pin it!
Leave a Reply